
What to expect during a roof replacement, step by step
By Dana Whitfield · Updated 2026-07-15
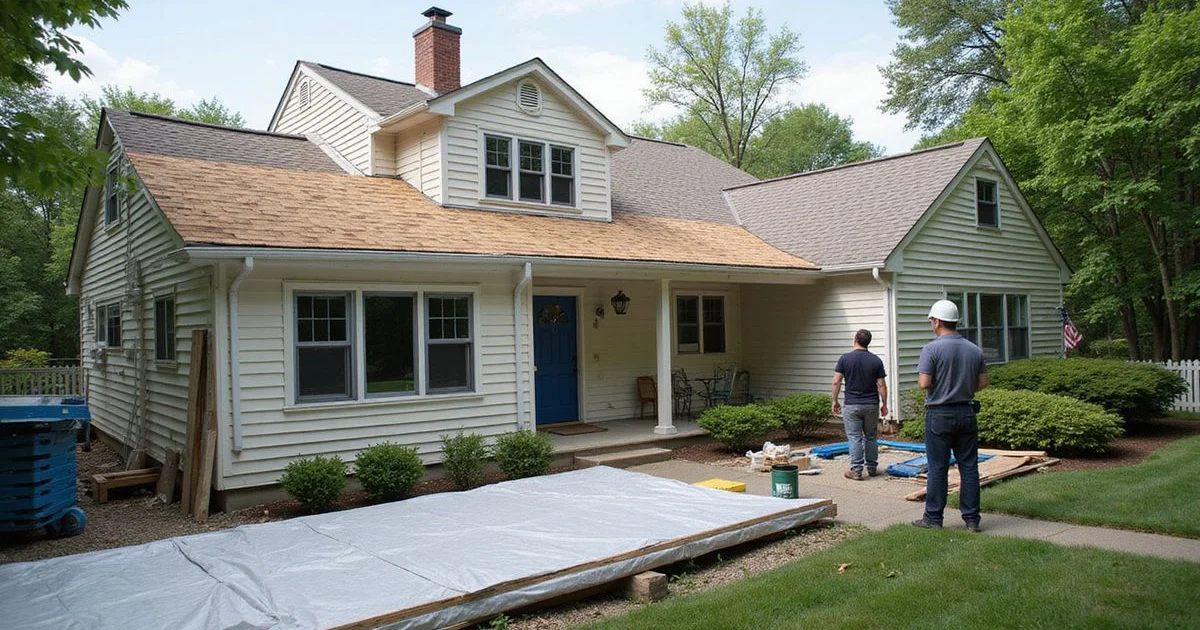
A roof replacement looks chaotic from the ground: a dumpster in the driveway, a crew walking the roofline all day, and a steady rhythm of nail guns. Underneath the noise, though, a well-run job follows a predictable sequence. Knowing what that sequence looks like helps you tell a normal day of work from a problem worth flagging.
Step 1: delivery and setup
Before tear-off starts, materials are typically delivered and staged, often craned or conveyed directly onto the roof to save time later. A dumpster arrives for the old roofing debris, and the crew protects landscaping, AC units, and siding near the house with tarps or plywood. This setup usually happens the same morning work begins, sometimes the day before on larger jobs.
Step 2: tear-off
The old shingles, underlayment, and any damaged flashing come off down to the decking. This is the loudest and messiest part of the job, and it is also when hidden problems surface: soft or rotted decking, previous repair patches, or more layers of old roofing than expected. A trustworthy contractor will show you decking damage before replacing it, rather than adding it to the invoice as a surprise afterward.
Step 3: decking repair and underlayment
Any damaged decking gets replaced, sheet by sheet, and the crew installs a water-resistant underlayment across the whole roof, with extra ice-and-water barrier typically added along eaves, valleys, and around penetrations like chimneys and skylights, since these are the spots most prone to water intrusion in Connecticut winters.
Step 4: new roofing material
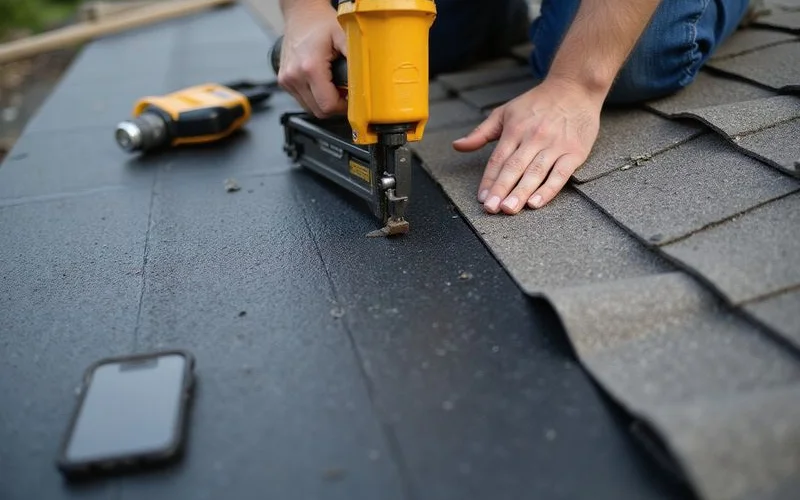
Shingles, metal panels, or another chosen material go down according to the manufacturer’s installation pattern, working from the eaves up toward the ridge. Flashing gets installed or replaced around every chimney, vent, and skylight along the way, since this is where the majority of future leaks would start if it is done poorly.
Step 5: ridge, ventilation, and finishing details
Ridge caps or ridge vents are installed last along the peak, and any ventilation upgrades happen at this stage too. The crew then does a full walk of the roof to check every seam, nail line, and flashing detail before calling the job complete.
What a homeowner should ask along the way
You do not need to be on the roof to stay informed. Ask the crew lead for a quick end-of-day update on progress and anything unexpected they found, and ask specifically to see photos of any decking replacement before it gets covered by new material, since that is the one part of the job you cannot verify after the fact. A contractor who welcomes these questions is usually one who has nothing to hide about the work underneath the new shingles.
Step 6: cleanup and final walkthrough
A magnetic roller sweep of the yard and driveway catches stray nails, the dumpster gets hauled away, and a final walkthrough with the homeowner covers what was done, any warranty paperwork, and care instructions.
| Day | Typical activity |
|---|---|
| Day 1 | Setup, tear-off, decking repair, underlayment |
| Day 2 | New roofing material, flashing, ridge details |
| Day 3 (if needed) | Finishing touches, cleanup, final walkthrough |
What can extend the timeline
Weather is the most common delay, since shingles should not go down in rain and high winds make roof work unsafe. Extensive decking damage, a complicated roofline with many valleys and dormers, or a material on back-order can also push the schedule out. A contractor who gives you a realistic range up front, rather than an optimistic single date, is usually being straight with you about how these jobs actually go.
Choosing who does the work
The crews reviewed most favorably in Connecticut tend to share a few habits: they explain decking issues before fixing them, communicate clearly about daily progress, and leave a clean site behind. You can compare roof replacement and installation contractors serving Connecticut, and this directory’s rubric page explains exactly how those rankings are built from review sentiment, rating, and completeness. If you are still nailing down a budget, the roof replacement cost guide breaks down what typically drives the price up or down for Connecticut homes.
Once you know the sequence, a roof replacement stops feeling like a mystery happening over your head and starts looking like what it is: a methodical process with a handful of stages, each one worth a quick check before the crew moves to the next. If you have not yet chosen a contractor, roofing contractors across Connecticut is a reasonable place to start comparing.
FAQ
- How long does a full roof replacement take?
- Most single-family homes are done in one to three days once work begins, weather permitting. Larger homes, steep roofs, or jobs that turn up decking damage can take longer.
- How noisy and disruptive is a roof replacement?
- It is loud. Tear-off involves pneumatic nail guns, tossing old shingles into a dumpster, and foot traffic on the roof all day. Plan around it if you work from home or have young children napping during the day.
- Will the crew need access inside my house?
- Usually not, beyond occasional access to the attic if decking issues need a closer look. Most of the work happens on the roof and in the yard around the dumpster and material staging area.
- What happens to my yard and landscaping during the job?
- Reputable crews use tarps and plywood to protect landscaping, gutters, and siding from falling debris, and do a magnetic nail sweep of the yard at the end of each day to catch stray nails.